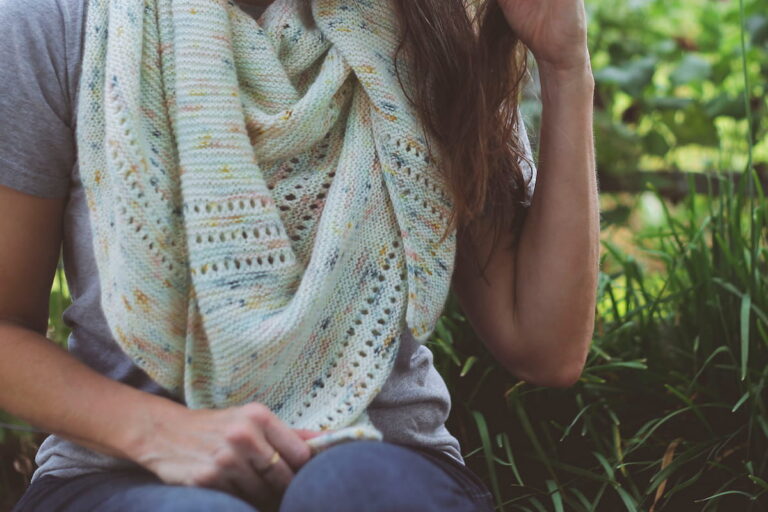
My Holla Back Tank
I finished. The Holla Back Tank is a design from Emma Welford that actually had me knitting lace.

I don’t see myself as a lace sort of girl. There are no shawls or lace socks on my projects page. There is a horrible lace skirt (horrible because of my heavy yarn choice, not the pattern) but I still plan on frogging it. So you can appreciate the wide appeal of this tank when I say I absolutely love it.
I used a little less than 3 skeins of Cascade 220 Fingering in olive to cast on for a size 31″ tank but began to fear that it would be too small because the pieces kept curling up before seamed. hoping it would be too big (as is often the case) so that I’d have a vintagey blouse effect. I’m a 34″ and didn’t think it would have enough ease for me. What I ended up with before blocking was form fitting. After blocking, however, there is a little more blousey-ness and it is perfect!


My Modifications:
wanted to avoid a droopy neckline. That’s the kind of thing that drives me crazy after working for weeks on something. So I doubled the amount of garter stitch edging I knit around the neck (8 knit rows total, then a bind off row) and whip stitched the top edge to the inside of the pick up row. It gave a slightly rounded neckline, but I’m pleased to say there is no droop and it looks like the regular armhole edging.

About the armholes– I could have done the same thing with the arm holes, but didn’t think it would be necessary. However, when all was done, I used two loose yarn ends at the bottom of the armhole to do a halfway, mini whip stitch. I ran my needle under a picked up stitch then under a purl bump a few rows above it, drawing them together a bit. It was nothing too precise; I didn’t go through every picked up stitch or pull them together too tightly. I just reinforced the shape of the armhole edging to keep it from flopping forward. It may have been totally fixable with blocking but I rig stuff up like that.
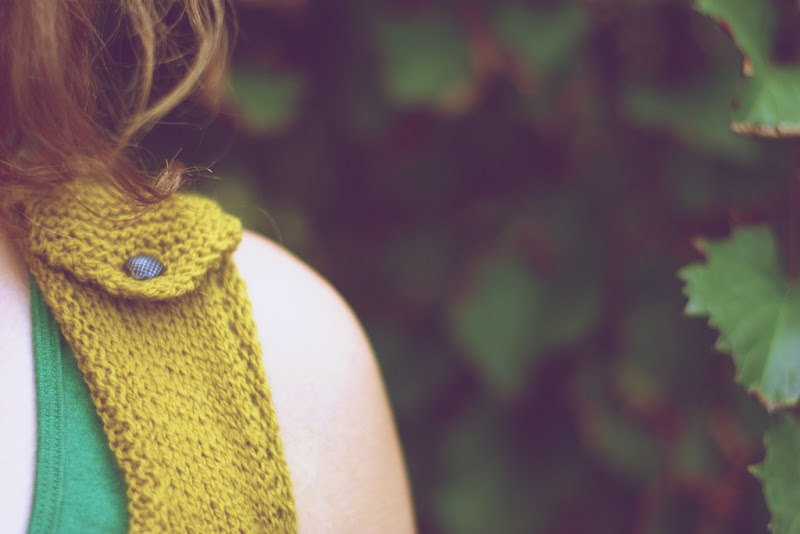
The shoulder tabs add a little edge to the vintage feel of this tank, in my opinion. I decided to make mine taper to a point, which kind of echoes the chevron lace, after the buttonhole like this:
After picking up 18 stitches, knit 2 rows even
Next row- decrease with a Ssk, knit to end, K2tog
Knit 6 rows even
Next row- knit, binding off two stitches in center of tab for buttonhole.
Next row- knit, reverse cast on where you bound off 2 stitches.
From this point on- decrease 2 stitches (as before) every row until 4 stitches remain.
Bind off.
Bottom band:
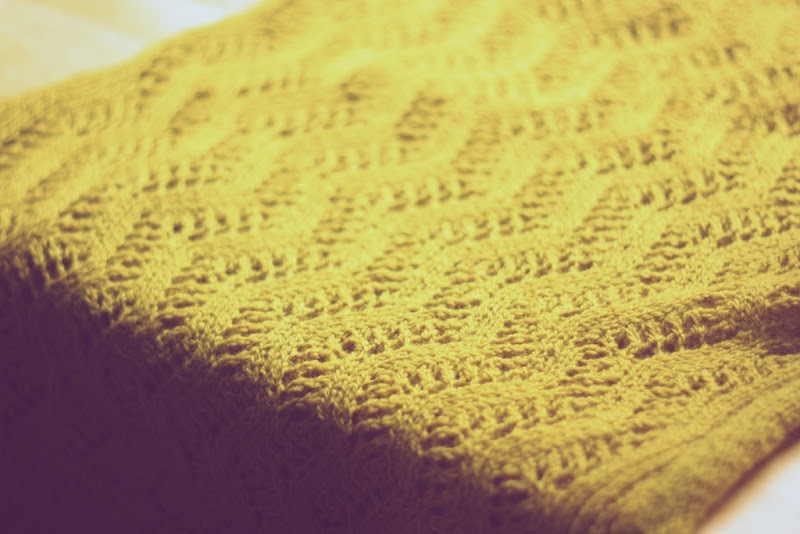
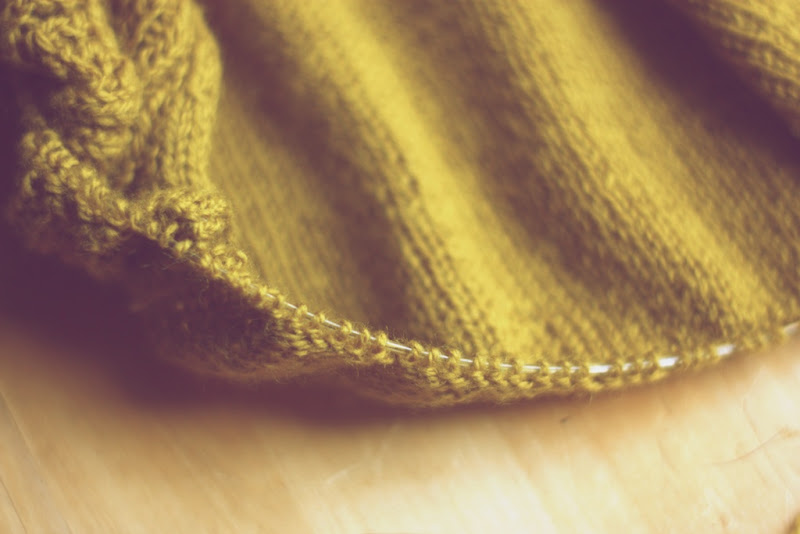
I skipped every 4th stitch as I picked up stitches for the band. This gave a nice blouse effect. I also decided to pick up my stitches from the actual, very, bottom stitch row (see photo below.) I usually move in one row to pick stitches up, but with this tank, and with the lace, this seemed the smoothest edge.
I also added 4 stitches to the bottom band for a total of 18 stitches in width.
I began the buttonholes after running out of picked up stitches to incorporate into the band. I also tapered the end of the tab as with the shoulder tabs:
After creating the buttonholes, decrease 2 stitches every row as with shoulder tabs (Ssk, knit to 2 stitches from end, K2tog) until 4 stitches remain.
Bind off all stitches.
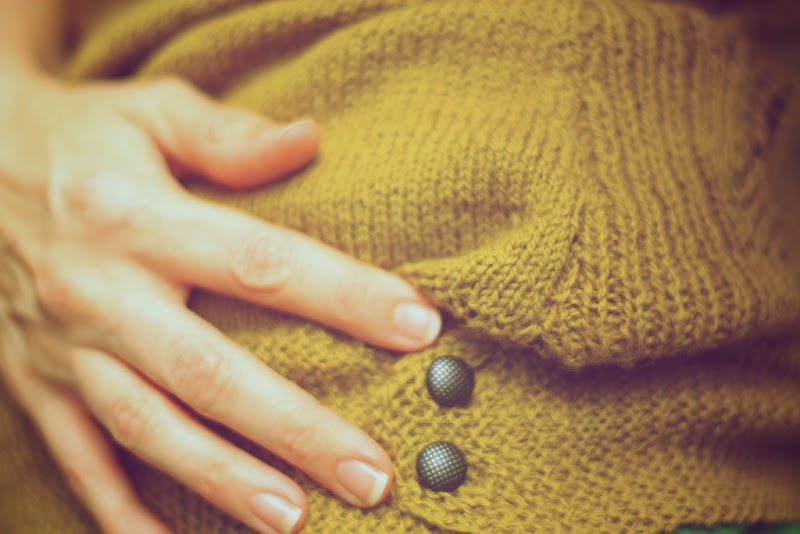
I didn’t place the buttons directly under the buttonholes, but a little further in to help tighten up the band and add to the blouse effect. I found that the band loosened up a little with washing.

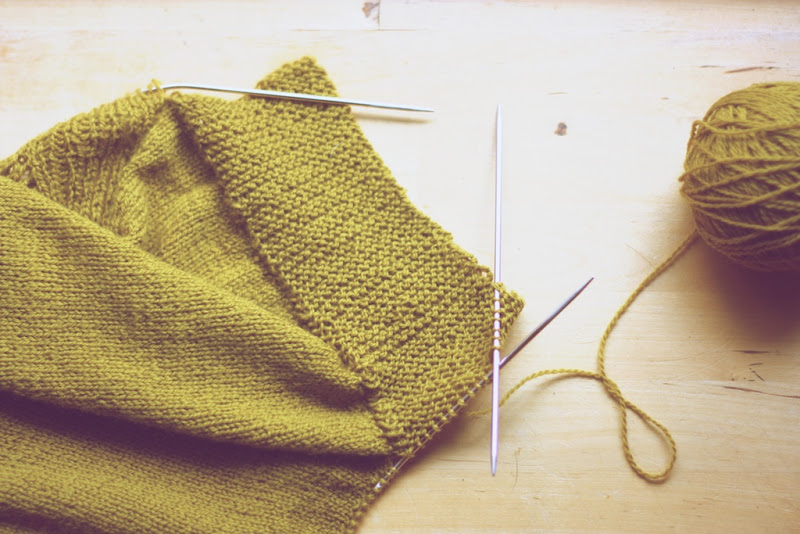
I have an obscene amount of progress shots for this top due to it being part of the knitalong. You can follow my links backward starting with my last post or get links from my Ravelry page, if that’s how you get your jollies.