Henri Knitting Tech
This post is purely knitting tech, so feel free to move along if that’s not your thing. But if you want to test how much your brain can take before freezing up, be my guest.
I think there are some things about my experience knitting the Henri sweater that justify a separate post. I may want to knit another one some day, or maybe you will, and this may help.
Keeping track of my row numbers was tough on the cable pattern, but I found that using a piece of scrap paper and pencil, rather than a counting app or ipad note, was easier. I’m comfortable with messy scribbles. I also counted the the row numbers for the cable chart (1- 24) rather than the actual pattern row I was on, because it was just easier. So after the border pattern rows, I knit the first 2 rows of this section, then began numbering my rows according to the cable row I was on. If the row was just a repeat of an earlier cable row, I noted it in parenthesis, like so:
1 ///
2 ///
3 ///
4 ///
5 ///
6 ///
7 //
8 //
9 (repeat row 1) //
10 //
11 //
12 //
13( repeat row 1) //
etc…
This way I could tick off the rows beside each number as I worked, keeping in mind that even rows and rows 1 and 24 were all worked straight (without cables). This way, I found I didn’t have to flip thru the pattern as much, which is a pain, and I could set the work down and still know where I left off in pattern. This row count was handy when I worked the other side.
Keep in mind that your increases start in different places for the front and back of the sweater. I was making the size 34″. So, for the front cables: I worked cable pattern across for 9″, beginning increases when working cable row 19 the third time. For the back cables: I worked cables for 9.5″, beginning increases when working row 23 for the third time.
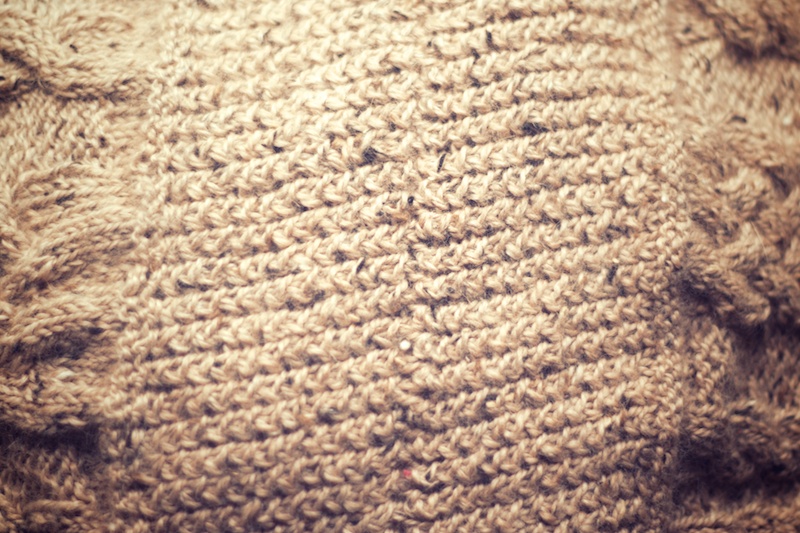
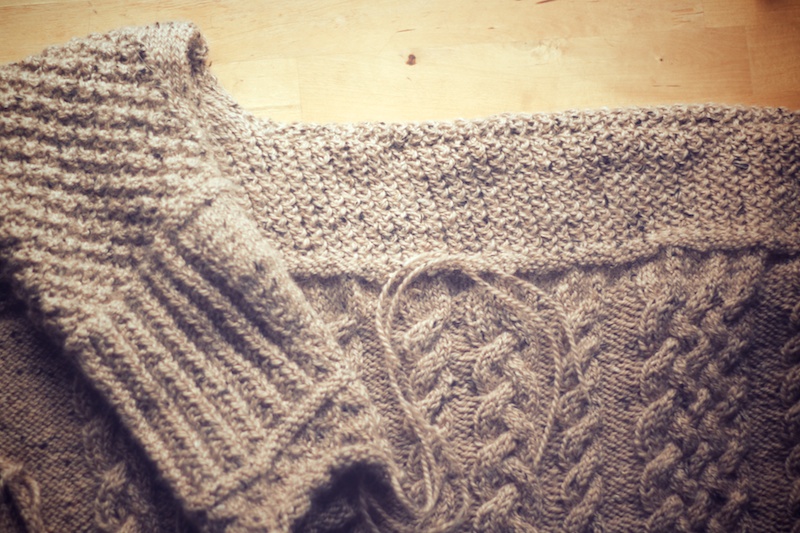
I also reversed the order of the stitches on the border patterns halfway through the sweater. The border stitches just separate each section of stitch styles. Up to the cable section, they were worked as directed: p,k,k,p. After the cable section, I reversed them: k,p,p,k for symmetry- totally unnecessary, but I can’t help being this way.
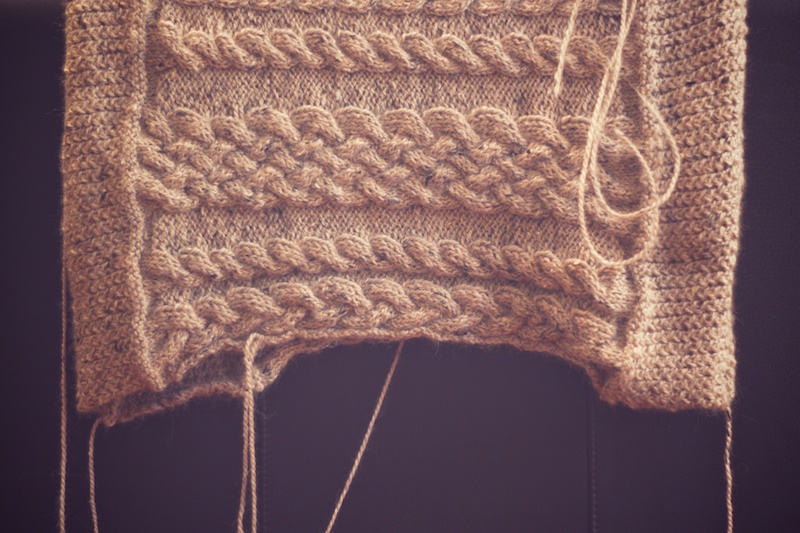
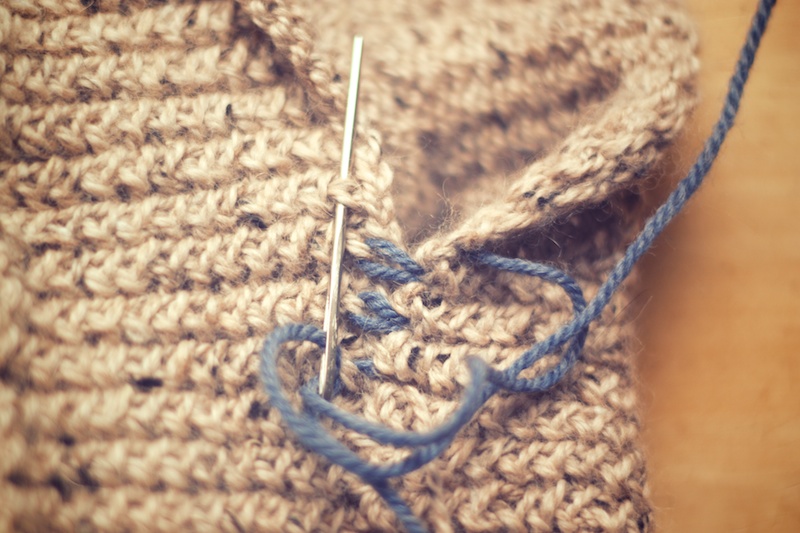
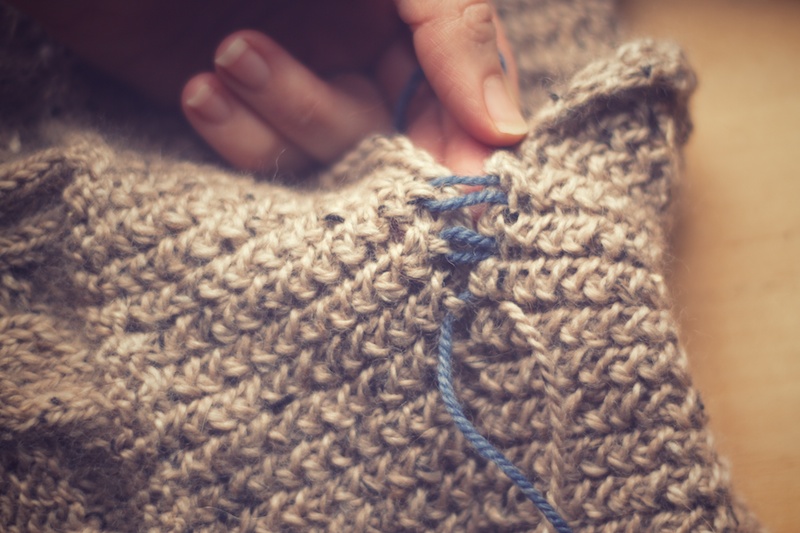
Now the trickiest part of this, for me, was the seaming of the sides. The shoulders and arm edges lined up so easily for seaming, but I didn’t know what the heck to do with the textured stitches of the sides. I usually move one stitch in from the edge and seam through the “ladders”between stitches on each side. But it looked messy and uneven on this sweater.
Finally I just studied the stitch pattern and moved 2 stitches over for the left side, then ran my needle under the corresponding stitches on the fabric of the other side, which was the first stitch from the edge. I knew what to look for on each row and did the same thing all the way up. The photo, above, looks uneven before blocking and is, a little, but is actually my final result. It looks like a machine- sewn sweater seam, which is okay with me, and when I put it on, no one notices.
This is probably another completely obvious, no-brainer for most knitters, but I literally seamed and un-seamed this side a million times before deciding this looked best. My seaming yarn got so burnt up by the ripping out over and over, it had to be replaced. There was wool in my eyes and heat coming off of that seam, baby.
I was really pleasant to be around.
I left a message on the Holla Knits forum asking seaming advice and Allyson suggested pinning the sides together before seaming. I did this for the first side, but once I found my seaming groove, it was easy to keep them lined up without pinning.
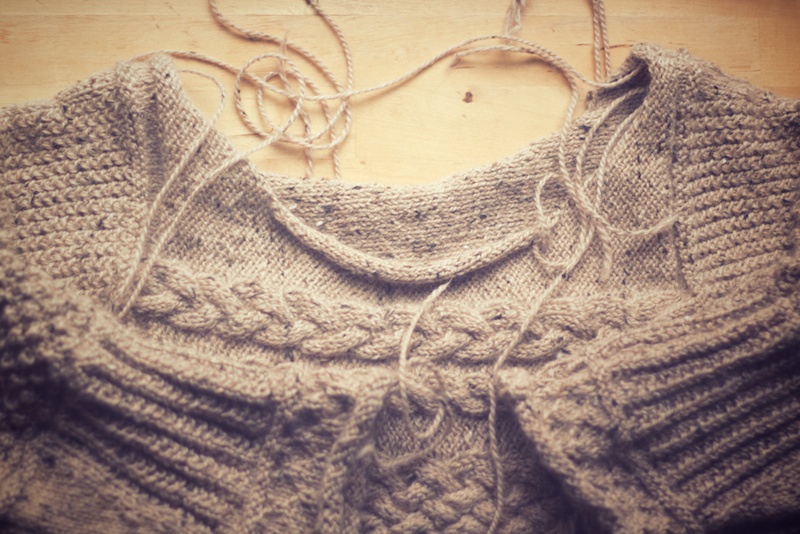
Oh, I didn’t block the pieces before sewing either. I know, I know… after all of this work… why?! But, I just couldn’t wait. Today I’ll pick up stitches for the ribbed edging around the neckline, bottom band, and sleeves. I hope to finish it tonight because we have some cold weather again. Wish me luck because I am pretty proud of this knit.