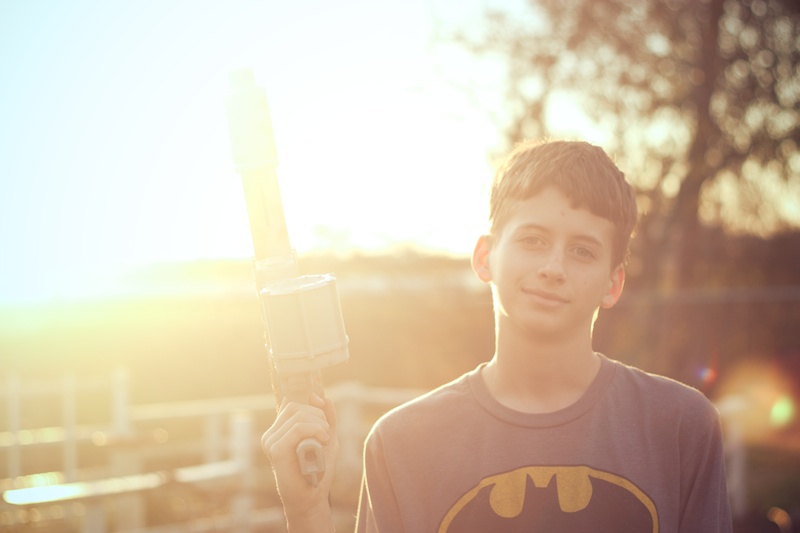
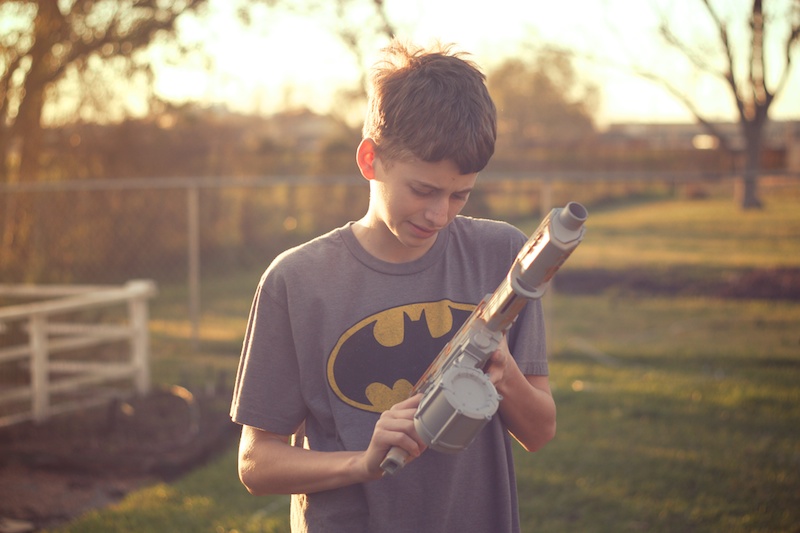
Nerf DIY for Teenagers
I realize plenty of teenagers still like Nerf, but by the age of thirteen nerf has to compete with the cool factor of Airsoft, paintball, goggles, and the firing range. My son’s massive Nerf collection is sort of languishing in the garage. He and his friends play with them sometimes but mostly when there’s nothing else to do.

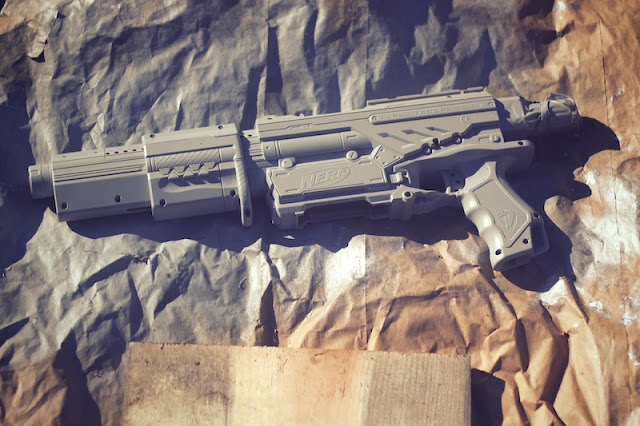
whatever weapon you want to paint,
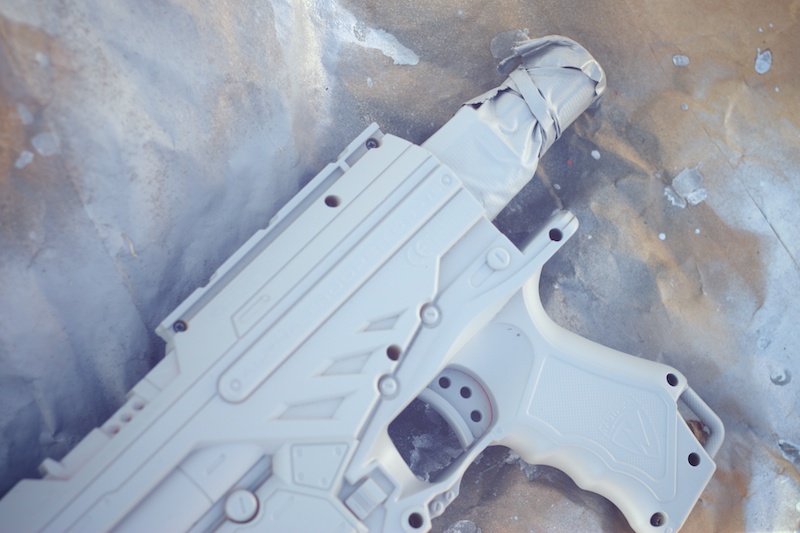
First you want to choose what weapon you want to paint and make sure that if it has stickers, to scrape them off. It doesn’t matter if it is a messy scrape because the paint will cover the messiness. Also, put masking tape over any parts you don’t want painted.
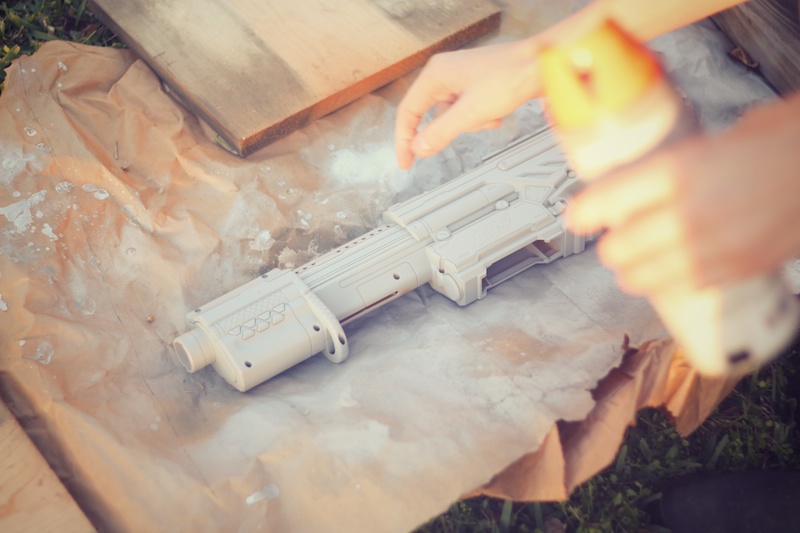
Next thing you want to do is choose which side you want to paint first and what color you want to be the main color. Once you’ve done that, spray the side of the gun you want painted first, but be sure you don’t touch it because it will screw it up. Make sure you’ve got an even coat. Wait for it to dry. (In a sunny spot it can dry in 1 to 2 hours.)
Now flip it over and paint the other side. Once that side is dry, paint any spots that haven’t already been painted.
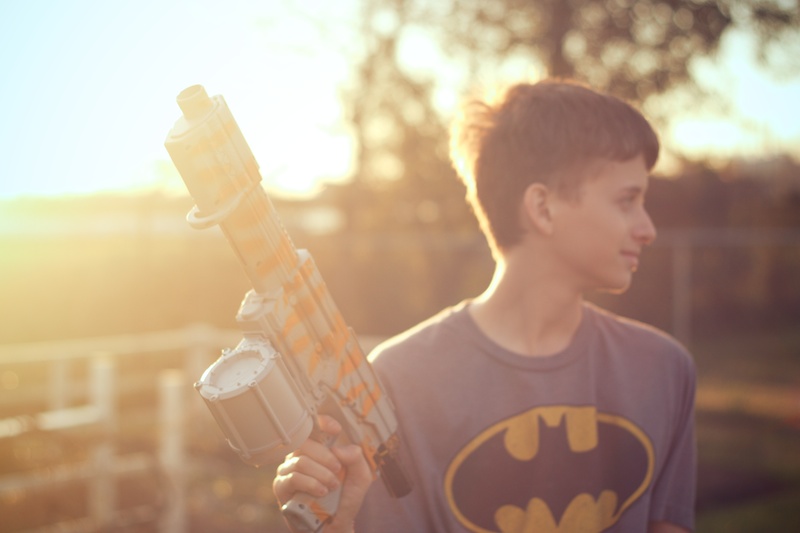
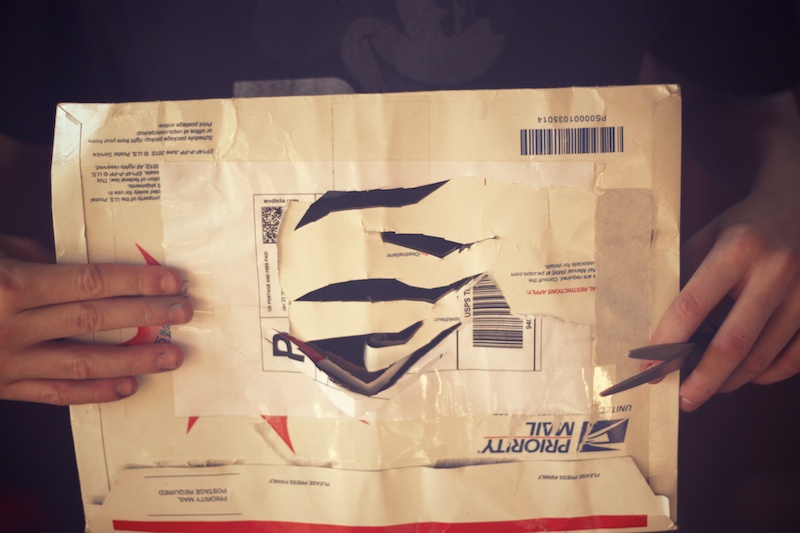
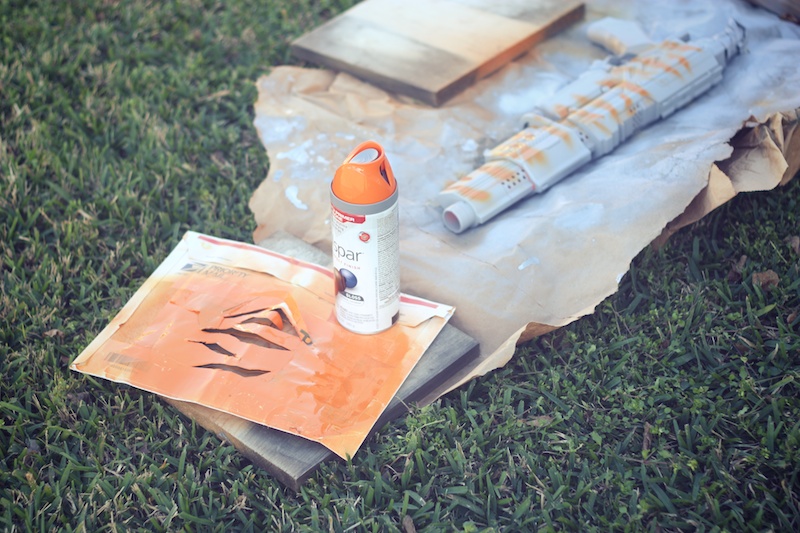
Now you can apply the pattern. (I chose tiger stripe, but you can choose any you want.) Draw the pattern on some cardstock paper or heavy paper. (This gets soaked in paint but doesn’t get floppy like regular paper.)
Now, cut out the pattern with scissors and make sure the paint on the gun is dry, or it really will mess it up.
Put the pattern over the gun in the spot where you want it to be. (It doesn’t have to be directly on the gun; it can be a little off- center.) Spray over the pattern and move the pattern around if it is a small one. If it’s large, you could probably keep it in the same spot.
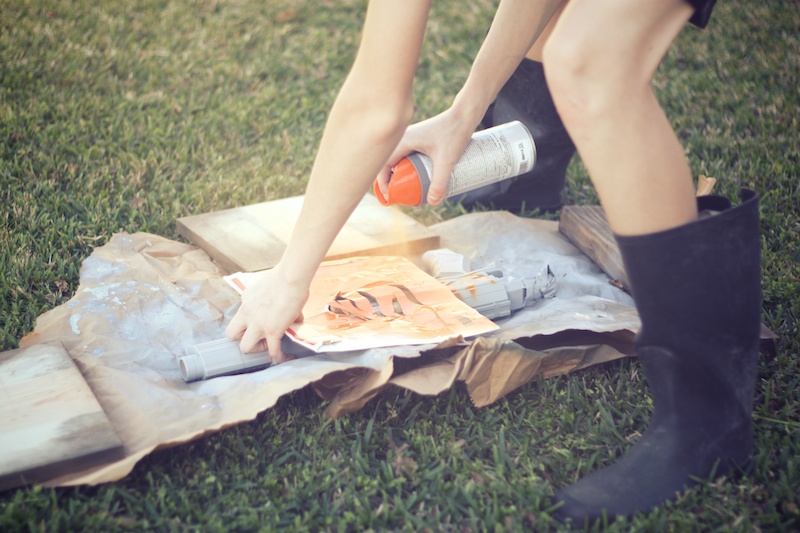
Let that dry.
Now, after it’s dry, flip the gun over and apply it to the other side. Same procedure as before.
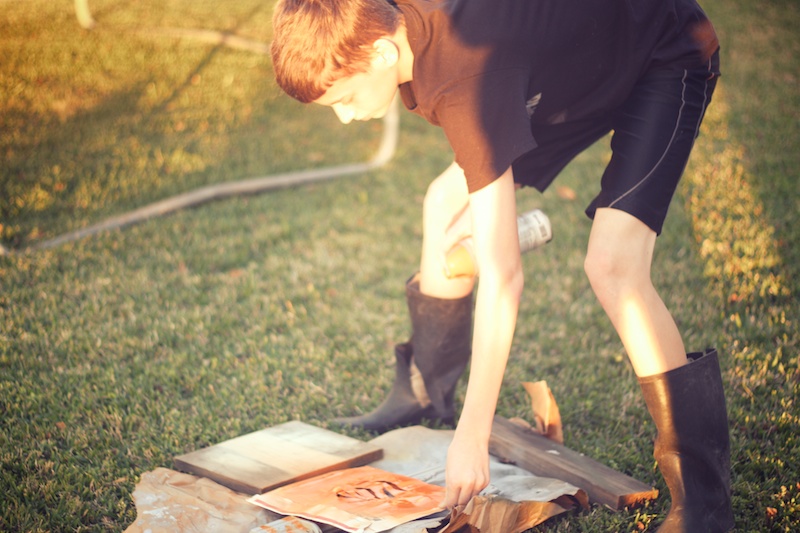
Let it dry.
If there are any spots that haven’t been painted yet, that you want to be painted, paint them and let them dry.
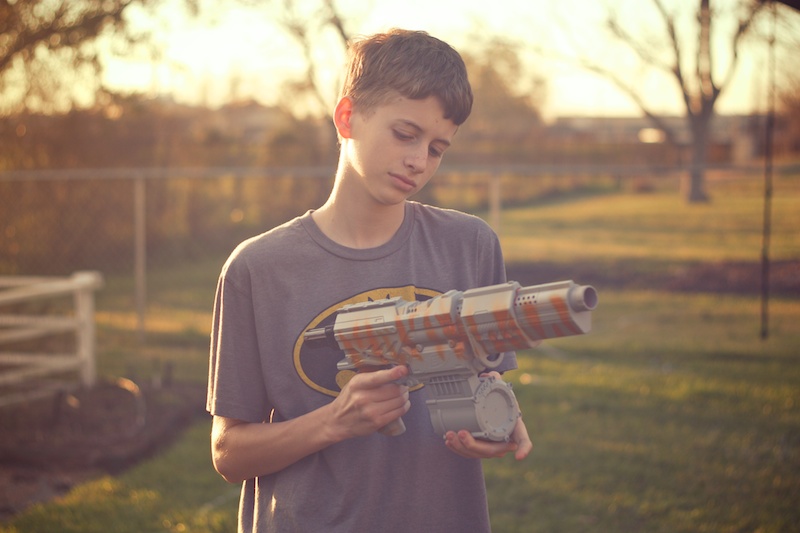
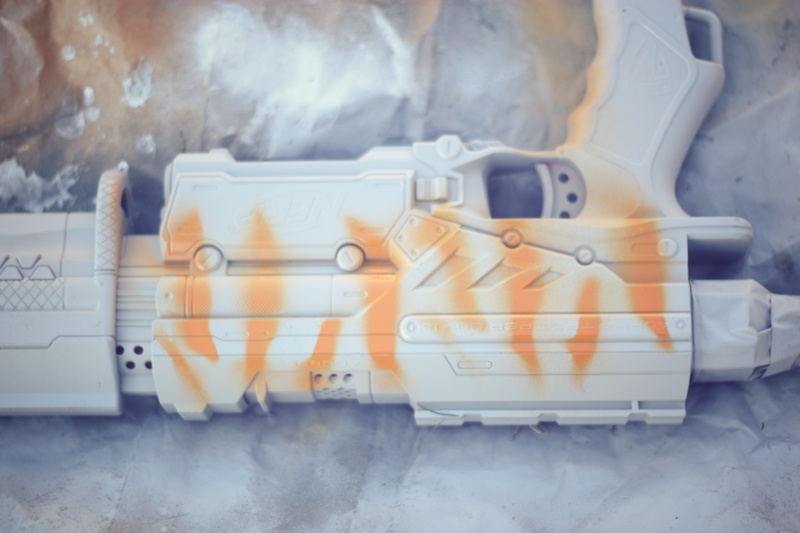
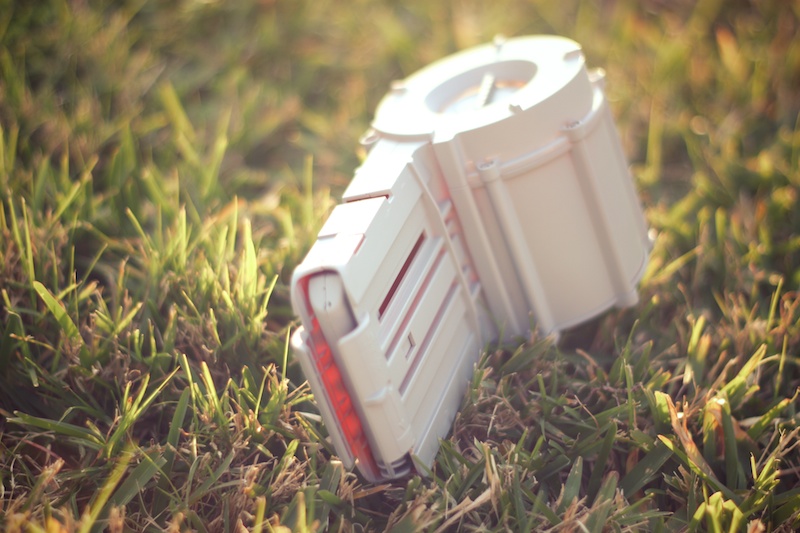
Basically, your gun is now finished; but if you want to go ahead and paint the magazine, like I did, keep reading…
Get the magazine and paint it whatever color you want, I chose my primary color because it goes with most colors. Paint one side of the magazine. Let it dry. Paint the other side and let it dry. Now paint any spots that haven’t been colored yet. You can apply the pattern to this if you want, but I chose not to.
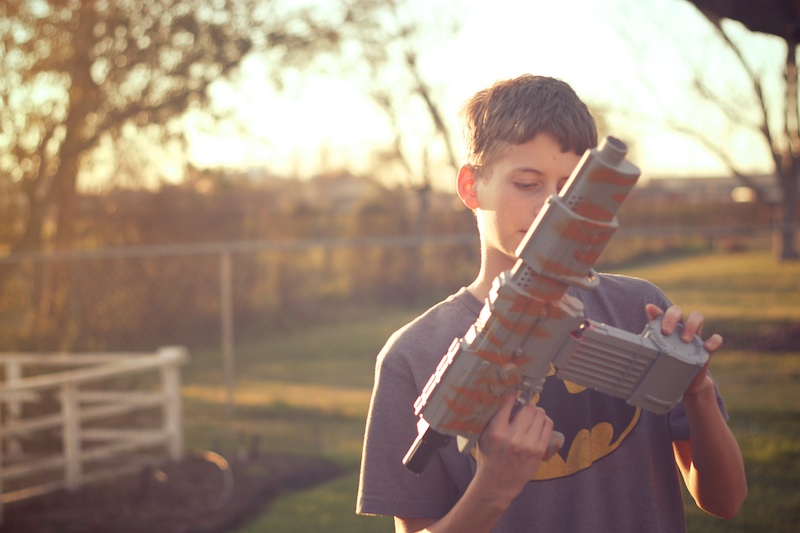
You’re done, but keep in mind if any parts won’t move, the paint has glued it. If you locate that area, where the paint has stuck together, you can sometimes push down on the part that’s stuck. If that doesn’t work, get an exacto knife and cut the paint.