Cherry Pie Sweater
Somehow I finished my Cherry Pie cardigan by the end of the Great Northern Knit-along. If you didn’t know, Great Northern Knits is a knitting book based on Twin Peaks. This sweater, by Teresa Gregorio, is one of two that have been released, before the book is published, for the KAL.
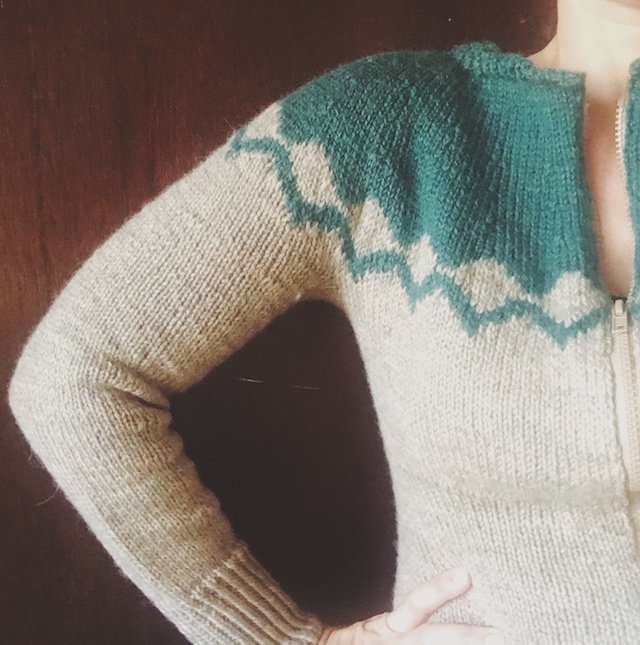
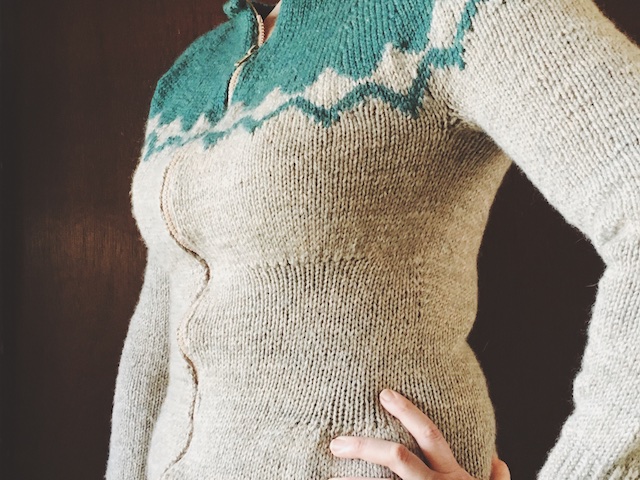
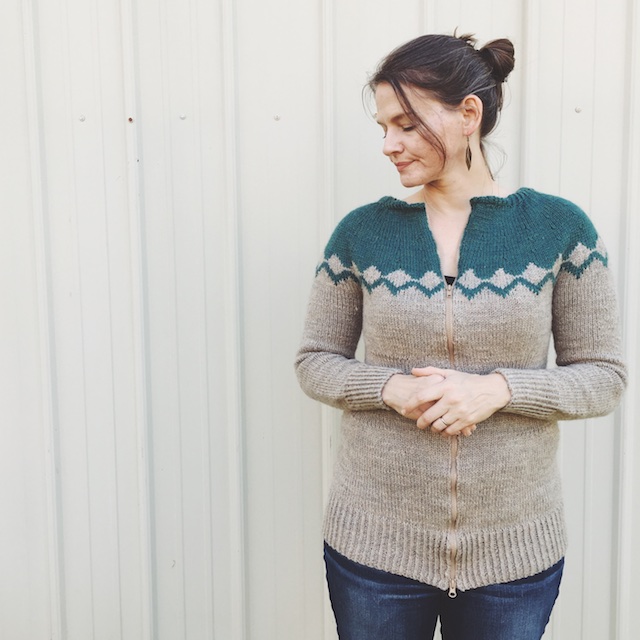
This makes me think of fitted, colorwork J Crew sweaters of the nineties. Only better. It also has a retro ski bunny look. What a challenging, but rewarding knit.
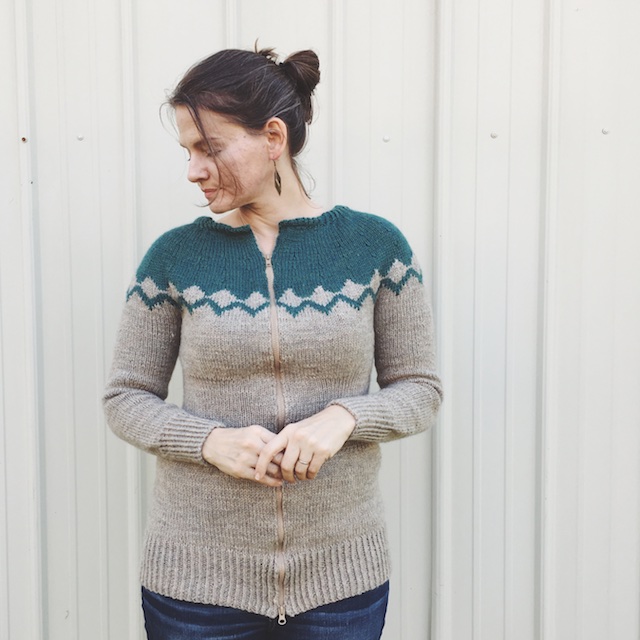
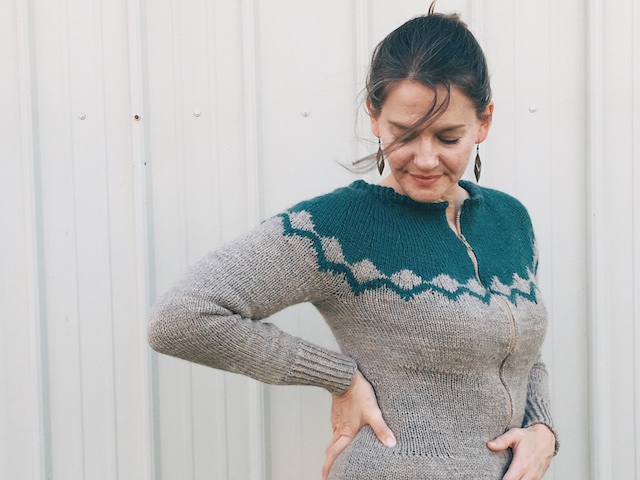
This cardigan involved two things that made me nervous: lots of shaping and installing a zipper. The shaping was my biggest concern and it turned out perfect. You may be able to see in photos, below, how it hits at just the right places to make a perfectly fitted sweater. The placement and style of shaping are an added visual detail that makes this cardigan unique in my closet. Now, the zipper was a bit of work for me, since I have no sewing machine and rarely sew anything more than buttons. But, as you’ll see, it worked out.
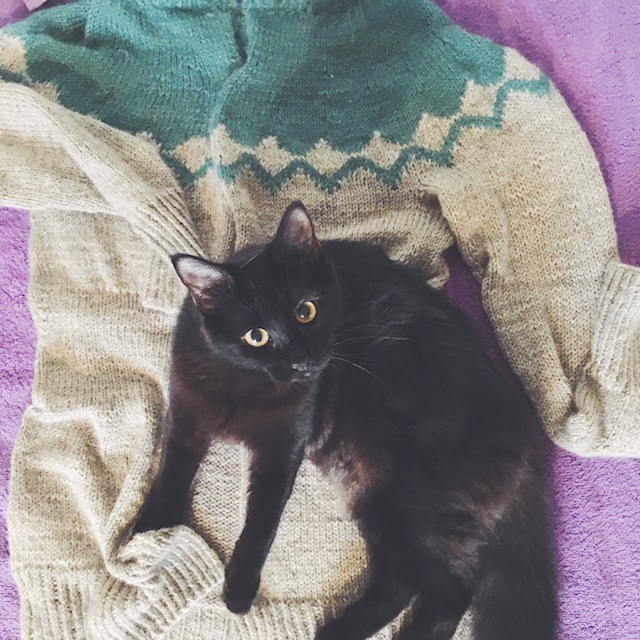
Aside from that, I really love the Fair Isle pattern. It’s simple and graphic.
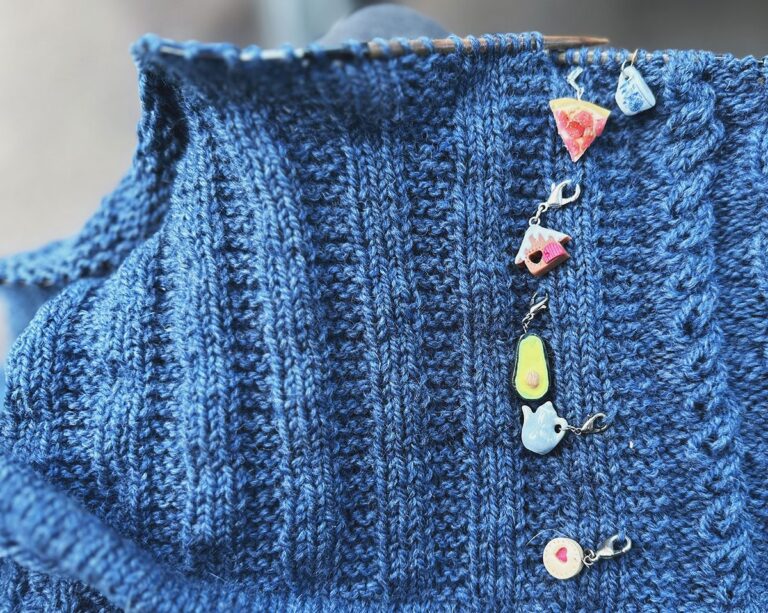
Details: I used size US 3 needles and Patons Classic Wool in Jade Heather and Natural Mix bought on a 20% sale at Joann. This was a Supa cheap sweater, friends. My two-way zipper came from Joann also.
I knit and blocked my swatch, finding that my stitch count was off by just a bit of a stitch per inch. That would mean that knitting the size 36″ should almost give me the 2″ of positive ease the design calls for. If it didn’t, I knew I could get a bit more through some serious blocking.
Things that helped me:
For the ribbing: First, remember that you’re working twist rib flat, not in the round, because I didn’t. Duh. I reknit it, though, because twist rib just looks nicer than regular 1×1 ribbing.

Also, if you’ve got a longish torso, like me, you may think you’ll need to add length to this sweater. But probably won’t need to. I added an inch just after the ribbing, and you can see that it was unnecessary. It also made finding a zipper long enough more difficult in the crafting wasteland I call Southeast Texas.
For the sleeves: Teresa recommended knitting them two at once and I highly second that if you’re sweater is solid until the yoke. It goes so fast in worsted and they’ll be the same gauge. I have decided to go up one needle size for sleeves, since I tend to knit them tighter than the body. But I didn’t have that size needle available, so I just thought “Loose” like a mantra the whole time.
I used this tutorial to help with arch nemesis, Armhole Gaps. I usually knit too-down sweaters and find that the armhole is not as tricky for me to close up when knitting in that direction. I doubt you can tell in the photo, but the underarm looks really well-stitched. I don’t think I could’ve done it without the help of that tutorial.
For the Fair Isle Yoke: As with all Fair Isle, I reminded myself to “Knit Sloppy.” It doesn’t look sloppy, it just feels looser as I work it. But, when it’s finished, with all of the floats and multiple strands in back, the gauge is more consistent with the solid portion of my sweater. If I don’t adjust my tension, it looks weird and tight.
I combined Fair Isle and intarsia for this yoke because there is an occasional 6 stitch float required. Looking back, I wish I’d just carried my floats and continued “Knitting Sloppy” for this. Intarsia eats my lunch and I’d rather avoid this much of it. Other knitters in the KAL carried floats, I think, and theirs all look fine.
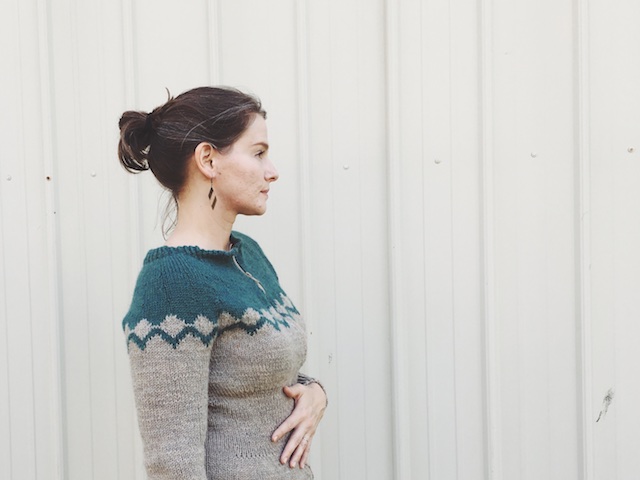
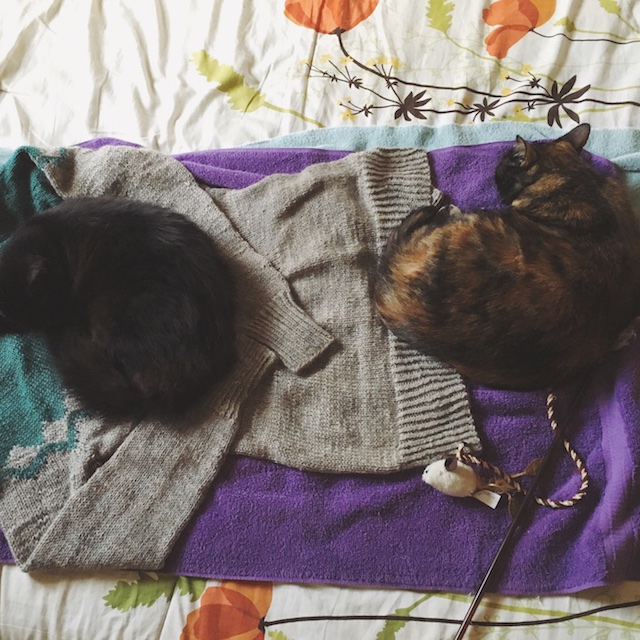
But I have to say that I am so pleased with how smooth this colorwork yoke came out. It was blocked, but not pressed, for these photos. It seemed like wherever I moved it to block, there was a cat or two waiting
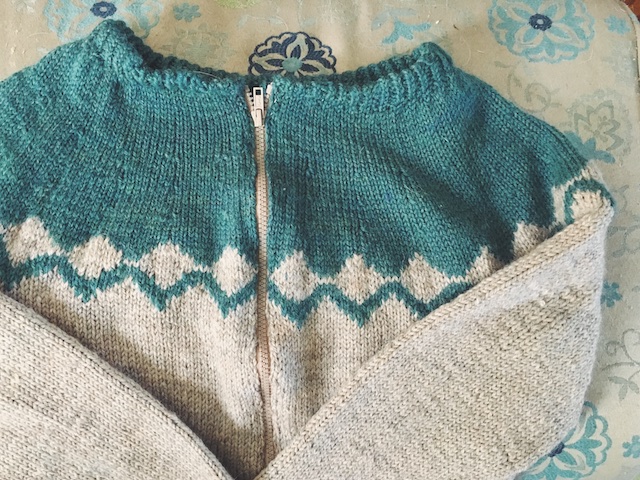
My collar modification: To hurry with the collar, because I had fallen behind when my husband’s parents came to visit, I didn’t bind off, then seam it down. Instead, I knitted it together with the beginning (or bottom of the collar) then bound off as I went. It looks fine to me and it saved some precious knitting time.
Installing the zipper was the real challenge. The nature of a fitted sweater, the way it widens and loses length when worn, made it so hard for me to gauge what length of zipper I needed. I probably knit the last part of the sweater at a looser row gauge, because that’s what I do, and I had added that unnecessary inch of fabric toward the bottom. Teresa, the designer, used a 26″ zipper, I think. She was knitting within gauge. Mine was at least 2 inches longer because of my knitting tendencies and and the bit I added. That would require a 28″ zipper. But when I measured it, as she did in her first tutorial, I kept getting 30.5″. Guys, I’m just not really accustomed to sewing and knowing how non-stretchy things will work with stretchy wool.
To be safe, I got a 28′ and a 30″. I would’ve gotten a 29″ too, if they had had any kind of selection in my store. I know that’s wasted money, unless you don’t mind trekking back to the store for returns, but I thought it was worth it to have it all on hand for “Z Day”. That’s Zipper Day, of course. I also got a double zipper that has two zipper pulls to open from top or bottom. After sewing it in, I don’t think I’ll ever unzip from the bottom. Personally, the shaping of the sweater makes it hang strangely on me when the bottom isn’t closed, so I probably won’t use that feature.
I screwed up the first time by using a 30″ I’m going to include photos for the non-sewers who might happen to want to see a visual of a too long zipper in a sweater. I tag this image: Zipper Tumors

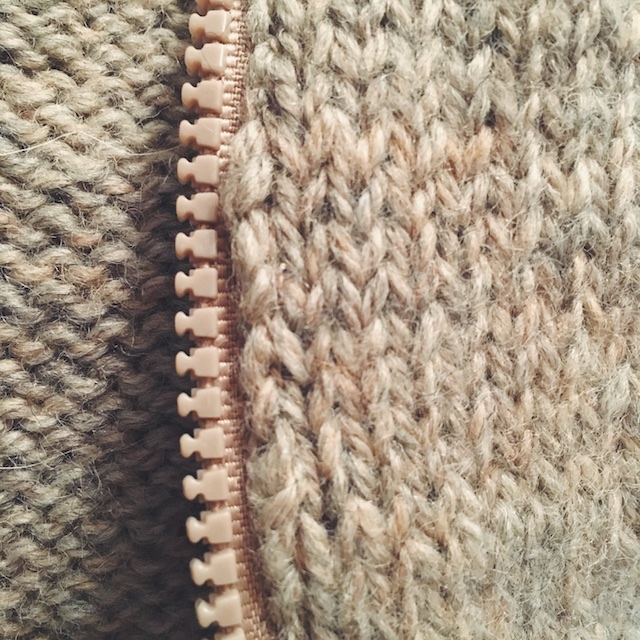
You may be able to see here that where the zipper ends, at the bottom, is actually stretched about 1.5 inches lower than the rest of the ribbing on the sweater. That was an obvious sign that my zipper was too long. Then, there are the bumps all the way up. Honestly, this picture doesn’t show how lumpy it was because my arm was raised to snap the photo and that smoothed it out some. I tried sucking my gut in a’ la Pilates Stance, but nope, they were just going to be there no matter who wore this sweater. Besides, my sweater actually fit my body as it is, with some curves. It’s a little weird to have curves so far into adulthood. It’s had me rethinking sweater lately. But this sweater, with all of it’s interesting shaping, fit really well and I wanted that to be apparent.
(This is my final try with the zipper and has significantly less rolling or stretching.)
So I ripped that zipper out. At this point I was making real headway into the first season of The Americans.
Since I had basted the 30″ zipper before sewing it, I just didn’t have the heart to baste the 28″ too. I officially hate the back stitch. So, for this try, I counted my rows and divided by 28. This let me know how many rows I’d need to sew into each inch of zipper. Then, I ticked off each inch on the underside of the zipper and used lots of pins to hold everything in place. Trust me, this is still waaaaay faster than basting by hand.
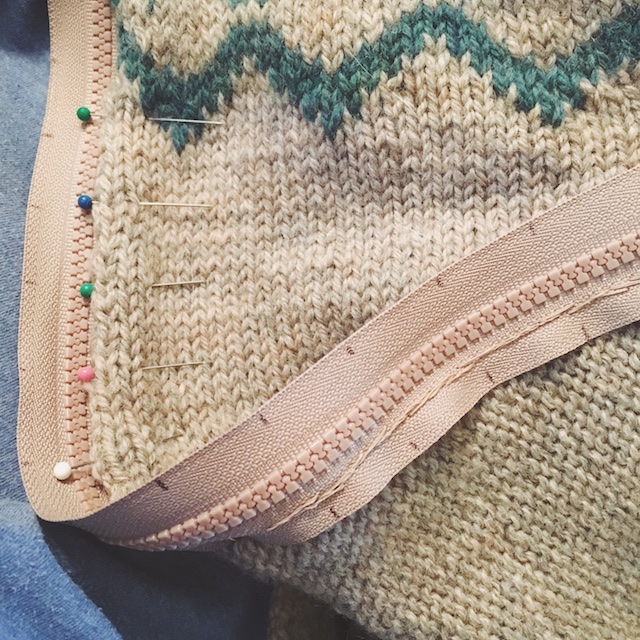
I even tried it on after sewing one side down, to make sure it was at least long enough. It was. My sewing did get considerably neater as I went. That last zipper looks almost pro underneath… but don’t go looking or anything.
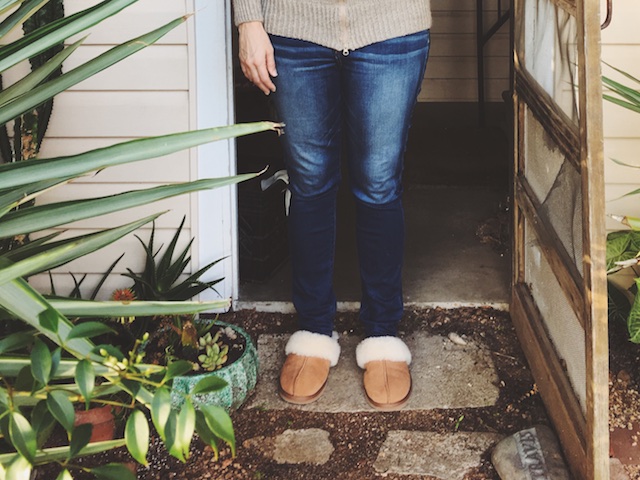
Then it was super fast photos of the sweater that my son took in exchange for a ride to a party. Yes, I bribe my kids. I also wear fuzzy slippers.
(more on ravelry, kollabora, instagram, and flickr)
This is definitely an intermediate or advanced pattern. Mainly for the bells and whistles, like intarsia and zipper. But I was thinking about how knitting it as a pullover and just using Fair Isle , instead of partial intarsia, would make this an easy sweater to finish and enjoy.
I liked the challenge of a zipper and I loved all of the shaping, it’s unlike any other sweater I’ve seen. But the bare bones of this design could work a number of ways.
Some possible modifications:
If zippers scare you, knit it in the round as a pullover. If its zippers and shaping combined that scare you, you could always knit it a bit oversized, with little or no shaping, and the zipper installation would probably be easier. I was thinking yesterday how this would even be cool with a half-zip front. You’s still get the look of a zipper and the shaping, but it wouldn’t be quite as much sewing to tackle.
Personally, I like the shaping with the zipper. When I began I was concerned that I wouldn’t be able to wear this more than one season, since my weight has been up and down. The practical side of me didn’t want to spend the effort on something that would only fit me for a time. However, after seeing the fit and being so proud of it, I realized it’s kind of nice to have something that fits me as I am, without being super oversized. I’m a knitter who doesn’t spend lots of money on regular clothes and stuff. Why would I not be worth a sweater that fits me as I am, even if it is just for a season or two? I mean we do it for our kids as they’re growing, right? So, I’m glad I dove into this KAL and treated myself to a custom-fitted sweater.
Helpful tutorials:
Sleeves two-at-a-time, recommended by Teresa.
Armhole grafting without holes tutorial.
Zipper installation part 1 and part 2, by Teresa for this sweater.